Stitching into Paper

Wow was this hard work!

Stiched paper (detail) Bryoney Fawn

I have been looking at a lot of pieces which have a beautiful texture to the surface lately and wanted to add some of this to my work.

DSC_8035

I stitched into the backing piece with long shaded stitches similar to the knits I have been experimenting with and then added some extremely fiddly french knots to the paper pieces which are added on top.

french knots on paper (detail) Bryoney Fawn

I really like the subtlety of the marks, especially the knots as they add a nice texture to the piece and reconnect me with my textile background. I think this piece needs more work, its extremely delicate work, trying not to get the yarn tangled into the cut pieces and being careful not to puncture the paper too close together else it will tear.

I also don’t like that you can see the holes in the paper (shown in the image above on the left) from the long stitches. The yarn needs to be thicker, or a different technique used to avoid this.


Working with Colour

Still in the process of developing my laser cut pieces I decided to add sections of colour to the work.

DSC_8022

I used 3 different colours of blue card to show through in this white backed piece,

DSC_8023

And 3 colours of red card in this black backed piece.

I really like the effect of this colour coming through behind the white work, and it works well with the tracing paper too. The different tones work well together and it would be interesting to see how different colours work together in the same piece.

I need to photograph this with light to see what effect the light has on the work and I am awaiting some LED’s in the post to add behind the cuts.

My Prototype… I think.

After a meeting with my tutor, who advised me to begin making, I decided to make my prototype piece. Im not sure about it though, it turns out I don’t know much about actually making things!

DSC_7998

I used a sheet of acetate and printed out a template cone to get the right shape

DSC_8008

Then I added pieces of black card and tracing paper using pins and glue

Cone light

I imagined it to be hanging from the ceiling, however I think there needs to be more black to make a complete piece and then add the tracing paper pieces afterwards.

There were a lot of things which this showed up and a lot of things which still need to be figured out, such as how do I fix this to the ceiling? It would also need to be a lot bigger, and how can I speed up the making process as attaching each piece individually is really slow work.

Laser Cutting again…

I am still not really happy with my laser cutting and am worried that I will never get around to creating a large scale piece! I tried to cut out some larger pieces today which were from my pen drawings but I am still not happy now as I dont reallt know how to piece them together.

P1010961

I tried to put them into a circluar shape but it didnt really work, and now i dont know what to do with them!

P1010962

I curled this piece around to get some form into it

P1010963

and hung the rest of the pieces up in layers but they dont look great

P1010964

feeling a little uninspired…. maybe its the paper I am using here, its just cheap thin stuff and before when I lit my pieces up it was really exiting and I thought they were working whereas now with these small pieces I think they are less successful, the opposite of before! What am I going to do?!

Lots of thinking to do between now and my next laser cutting session…

Laser Cut and Light

I was experimenting with my laser cuts and light today and draping over a lamp to create different effects.

P1010916

I really like the effect lighting up my pieces has, it helps to bring them to life and show off all the details

P1010921

I’d been laser cutting on black paper and tracing paper mixing different effects.

P1010923

draping the two together adds such movement and exciting patterns to the piece. I love how they worked together, and this is just the beginning

P1010930

I also draped my thermal pieces together and they looked just wonderful. All the small details of the two pieces just seem amplified under light.

P1010933

Lots more exciting things to come, I want to develop my work further with different materials and maybe start to bring some three dimensionality into the work on my next laser cutting session.

Cutting Paper and All That

My laser cutting session was cut short today due to a (forgotten about) confidence lecture scheduled for the afternoon. It was worth it luckily!

I still managed to get quite a lot done though.

P1050240


I began with smaller areas of detail

P1050244


and worked up to larger scale, more detailed pieces

P1050245


Ending with some overlaid ideas

P1050251


With beautiful ‘Threadbare’ engraved details

I think these are a lot more promising than last weeks attempts however I am still not happy with all of them. I think I really need to ensure my marks are quite small and that the scaling up is right to avoid the cutting being scratchy.

I would like to develop the threadbare technique on different papers as this is a really beautiful effect which I stumbled across and I would love to learn how to control it.

Drawing for Lasercutting – 22/01/2014

Today I was using the successful pieces from my last laser cuts as inspiration for my drawing style and will hopefully result in some interesting pieces after cutting.

Lasercut Paper

I was also looking at the extremely detailed and intricate hand cut work by Tomoko Shioyasu to try and give my work the same beautiful wispy feel. The paper cuts by Shioyasu are incredibly complex, and it is a wonder how the paper can stay together with so much of it taken away.

I love the piece named ‘Waterfall‘. The scale of the paper compared to the size of the cuts really adds an impact and I imagine that encountering these pieces up close is astonishing.

It will take a long time before I am able to construct anything as complex as these works but I really enjoyed drawing in this kind of style today. I used different weights of ballpoint pens and tried to draw using a mixture of small and long lines. I found it really hard to concentrate on this while still being free with my drawing style but my drawings became more organic as I settled into the style a bit more.

Drawing pen paper

I am really excited to see how these turn out when they are cut, I want to play around with different scales to see whether the cuts work best larger or smaller scale, and also I will vary the number of cuts in the paper, from a few like the image above, to a more cut out piece more like Shioyasu’s work.

Drawing and Laser Cutting

21/01/2014

My first attempts at drawing for laser cutting didn’t go too well. I was quite unsure of the style which I wanted and I think the drawings I had were too controlled to have the organic feel of the smoke running through them.

When cut the piece was bulky and heavy which is not at all what I wanted.

I tried to cut one of my drawings which was done in rough pen marks and I think the elements of this cut much better than the ones which I had intended to cut in the first place, however there were areas cut out that were much too large and ruined the feel of the piece. Some of the smaller details were quite nice though and have given me something to work on.

Lasercut Paper


I pinned some of the larger cut out pieces back in front of the cut out paper to add a layered effect. I think this works quite well as an idea but needs a lot more refining. 

P1050235

I also tried pinning these straight onto black which I think looks really effective, however I think the cut pieces and composition would need to be more interesting and have more of a direction to really become interesting and eye-catching.

Laser cut paper pinned

For my next set of drawings I will try to work on the smaller details and loose marks made in these cuts to refine the laser cutting and hopefully be able to create the weightless effect that smoke has, in paper.


Hannah Nunn, Placement October – December

Image

Hannah Nunn is a laser cut lighting specialist who works from her studio and shop Radiance in Hebden Bridge.

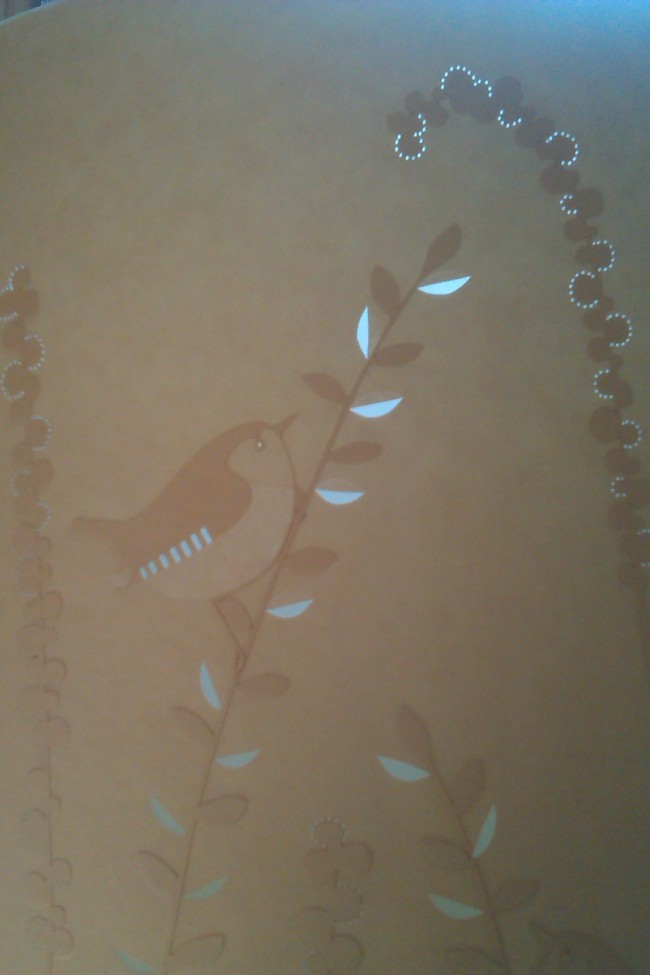
She originally studied Crafts at Carmarthen College in Wales and this move to the countryside inspired her main ideas. All her lamps depict stylised flowers and plants which she sketches from the environment outside her door – the beautiful Calder Valley.

Hannah originally started making paper cut greetings cards which found their way into Libery and Harrods, and then from continuously holding these upto the window or a light saw how turning these into lighting designs could be a great development.

In 2003 at The Great British Craft Fair the first range of lamps showed their popularity and allowed Hannah to buy a shop in 2005 where she can showcase other inspiring designs by fellow artists working with light along with being able to have her studio at the back  of the shop.

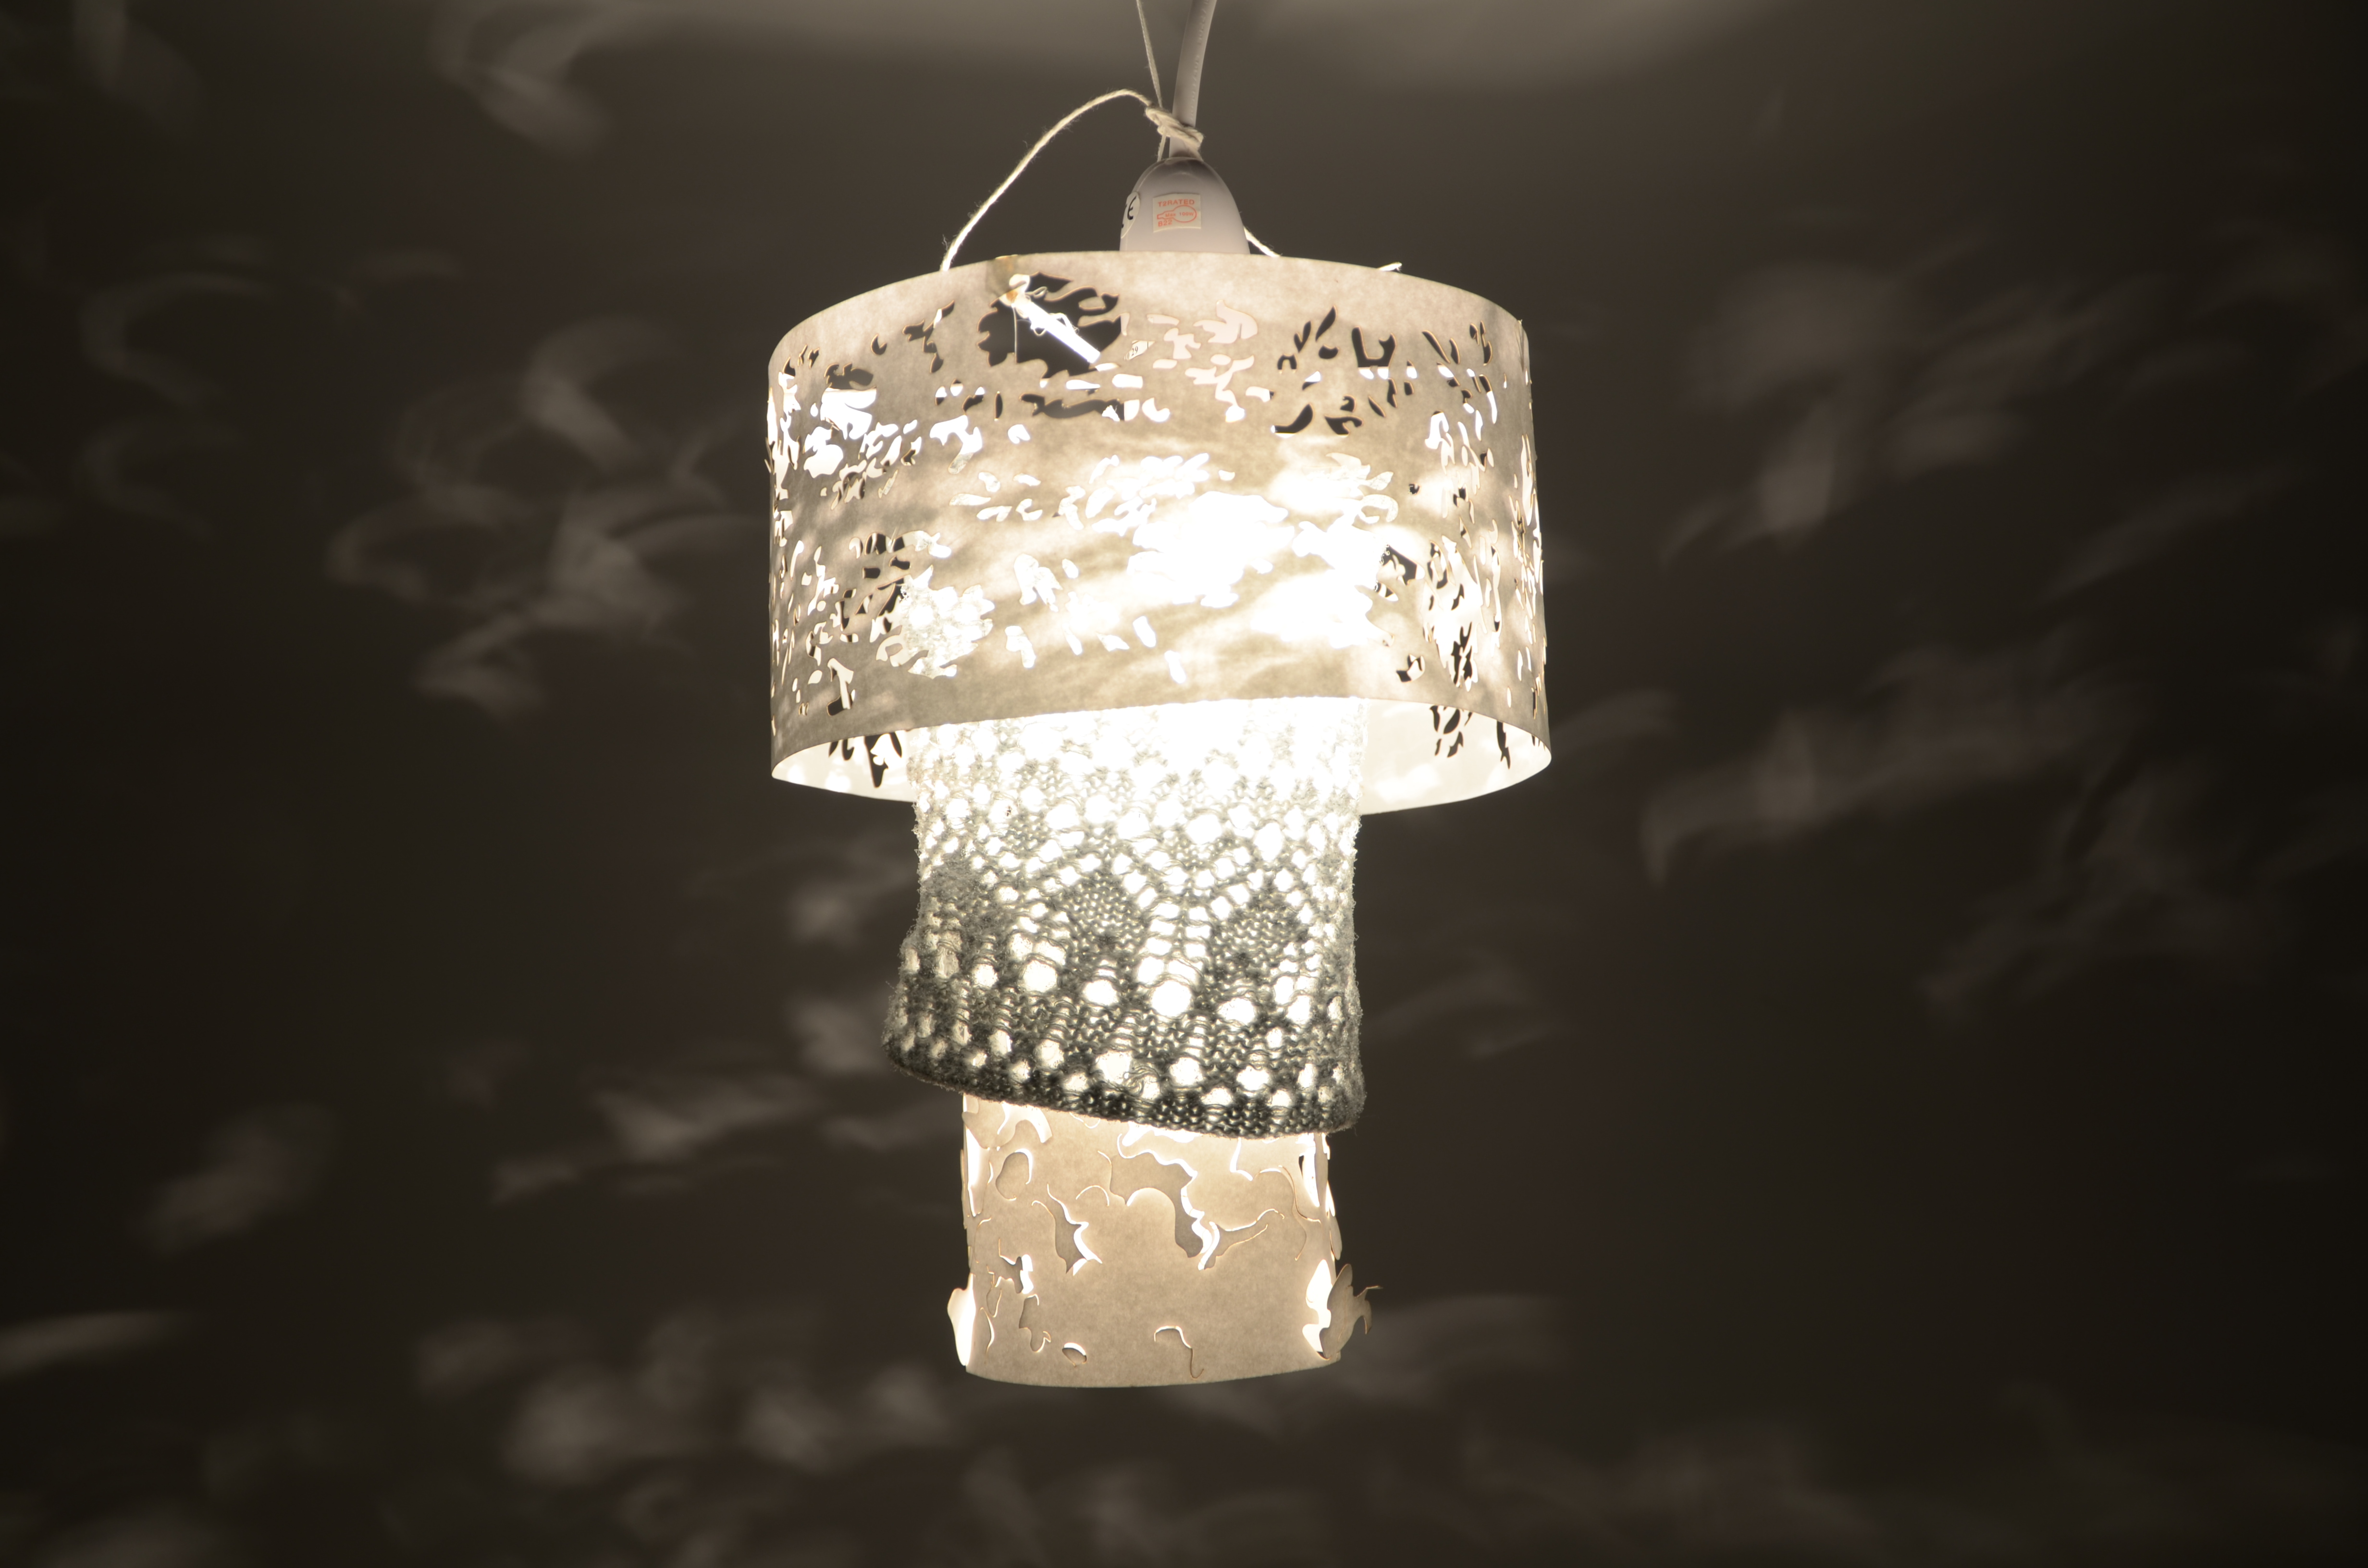
Hannah’s designs are basically built up in 3 layers. The lightest is cut out completely, then there is a middle layer which is the all over colour of the parchment paper, and a darker layer which has been added on to the base paper to create a shadow. Seeing her work close up and being able to talk to her about it has given me lots and lots of new ideas about how to get the best out of laser cutting and I want to try and create some stylised designs of my own.

Hannah designed her own light fitting for her lamps as she wanted a ‘shadowless’ fitting. Most conventional lampshades will have a line of shadow at the top and bottom and Hannah wanted to avoid this to only have the shadows she has chosen to be there showing once the lamp has been illuminated.

Winter is Hannah’s busiest time of year where visits to her own website and Radiance her shop increase dramatically as the long dark nights draw in and people become more away of the lighting in their own homes and that dark corner that needs lifting or an old shade which could do with an update. In contrast to this is the summer months where the sun is shining until late at night and people don’t seem to notice their indoor lighting pitfalls as much. The valley which Hannah lives in is also a big player in this Winter rise as due to the high hills and the sun being lower in the sky during the winter months it doesn’t even reach the valley bottom. Being blocked out by tall buildings and even taller trees. Studies show that Seasonal Affective Disorder is triggered by lack of light in winter and light therapy (where patients are exposed to daylight or specific wavelengths of light for specific amounts of time) can help to relieve symptoms its no surprise that people are draw to Hannah’s light emitting shop Radiance, which welcomes you in with its cosy bright glow.

Early LampsHer blog makes for a great read, find it at http://www.hannahnunn.blogspot.co.uk/ as an incite into her working life, inspirations and designs. I especially like the post named ‘Day one and Two’ which shows the earliest Hannah Nunn lamps and how they came to be, using lining paper and shiny laminate Hannah held these early prototypes over a ‘milk bottle with a lit bulb’ to see how they looked when lit. The designs have changed a lot since these early days but Hannah could see the early potential of these lamps and her business was born.

There are lots that go into running a small business and I think working in the back of a shop showcasing many works is an ideal situation. The balance between sourcing works by others and creating works herself seem to help Hannah to continue to broaden her product range and create more and more trademark designs which now range from candle holders up to hanging lampshades.

Reading her blog you also realise that other than creating work, sourcing things for her shop, packaging and sending out deliveries, there is also exhibiting work to gain  a wider customer base and raise further awareness of her designs, a book launch this November which will be her latest venture and then the photo shoots for postcards and websites which all go into running this small business its amazing how far she has come.